

1. Setting up your branding
After starting your trial, the first thing to do is to set up your branding to give a professional impression to your patients. To begin, tap the settings button in the top right corner, then select ‘Profile Settings’ (see below). Make sure your name and business details are as you would like them to appear to your patients.
The ‘Name for message’ will be shown at the end of invitation emails etc. At the bottom of the page, you can also edit the welcome message that will appear in your patients’ app.

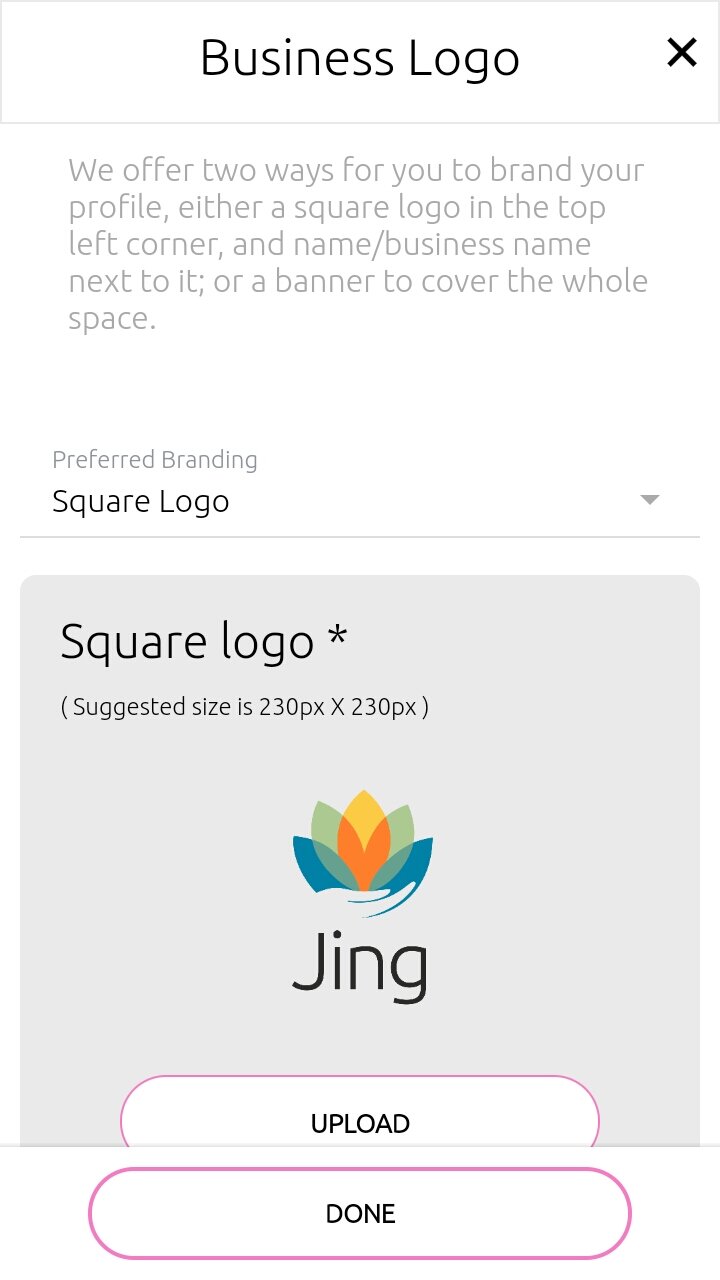
Next, tap ‘Upload’, found underneath ‘Business Logo’. This allows you to upload two types of branding, either a square logo (230 x 230 pixels) or a banner image (1130 x 310 pixels). Under ‘Preferred Branding’, you have three options. ‘No Image’ will show your business name at the top of the screen, with the Jing logo in the left corner. ‘Square Logo’ will replace the Jing logo with your own, and still show your business details. ‘Banner’ will replace everything at the top of the screen with your banner.
When you’re finished, select ‘Done’, then ‘Save’.
If you want to see how your branding will appear to patients, you can set yourself up as a dummy patient (see section 3 below for information on adding patients). Use a different email address to your main account if you have one, but if not you can add a ‘+1’ to your main email address (for example if you main account email address is user@email.com you can enter it as user+1@email.com). Set your dummy patient account up with a sample programme, then log out of your practitioner account. Go to your email inbox, and you should have an invitation (please note, at the time of writing your branding will not appear in these emails). Follow the instructions to sign up as a patient via the app, and you should be able to see your branding at the top.
2. Browsing patient material
To browse the material you have available to prescribe to your patients, select ‘Browse patient content’ from the main menu. Simply select a category, and explore the material. You can also search via keywords at the bottom of the screen.

3. Adding/editing patients
To add a patient, select ‘Add/edit patients’ from the main menu, then ‘Add new patient’. Complete your patient’s details, making sure you have their permission to use their name and email address for this purpose. Tap ‘Send invitation’.
Tell your patient to look out for an email, which will contain a download link for the app (free to use for the patient) and an invitation code. All they need to do is select ‘Sign-up’ from the welcome page, then the ‘I am a patient’ option, and complete the sign-up form including the invitation code. They can then log in to the app.
To delete a patient from your list, simply swipe right on their name, then tap ‘Delete’.
4. Setting up a patient programme
Select the notepad icon next to your patient’s name in the ‘Add/edit patients’ section (you can do this from the ‘Pending’ section as soon as you have invited the patient). The easiest way to create a programme is via the ‘Programmes’ button at the bottom of the screen. Just select this, browse for a suitable programme, tap ‘Select’, then ‘Save’. You should see the items from this programme appear under the patient’s name. You can remove unwanted items by tapping the ‘x’ on the right. You can also add extra material by selecting a category, and browsing the available options. You can of course build a programme from scratch in the same way.
Each item of patient content has a default suggested frequency - for example, the acupressure points are set at twice per day. If you want to adjust these, just tap on the ‘play’ icon of any item in the patient’s programme. Scroll down and adjust the frequency between 1-10 times per day/week and tap ‘Save’. You can also add notes to each item here, including web links to related material.
Don’t forget to tap the ‘Submit changes’ button at the top of the page when you’ve finished. The patient will then be able to see their programme in the app.
5. Monitoring patient activity
If your patient has opted in to allow monitoring, you can view their activity via the ‘Add/edit patients’ page. Tap the ‘i’ icon next to their name. On the info tab, you can add notes relating to the patient. Select the ‘Recent activity’ tab, and you will see a list of their programme content, along with a calendar showing what they have completed.
6. Tips on using Jing effectively
Here are a few thoughts on how to use the Jing app effectively with your patients:
The most important thing is that patients practice the recommended routines/dietary advice diligently, so practitioner support and encouragement are invaluable.
Don’t overwhelm people with too much material. It may be better to start with just a couple of items, then add more if they respond positively and are open to it.
It might be helpful to try out some or all of the different practices/recipes yourself to better understand any problems patients may have.